Making your own vegan yogurt in an Instant Pot is easier than you might think! This method yields a perfectly tangy and creamy yogurt every time, with minimal effort. Say goodbye to store-bought options and hello to delicious, homemade vegan yogurt.
Why Make Vegan Yogurt in an Instant Pot?
Instant Pot yogurt is a game-changer for several reasons:
- Hands-off approach: The Instant Pot takes care of the temperature control, so you don’t have to babysit the yogurt as it cultures.
- Consistent results: The controlled environment of the Instant Pot ensures a consistent temperature, leading to reliably delicious yogurt.
- Convenience: With just a few simple steps, you can have a batch of fresh, homemade yogurt ready to enjoy.
Ingredients You’ll Need
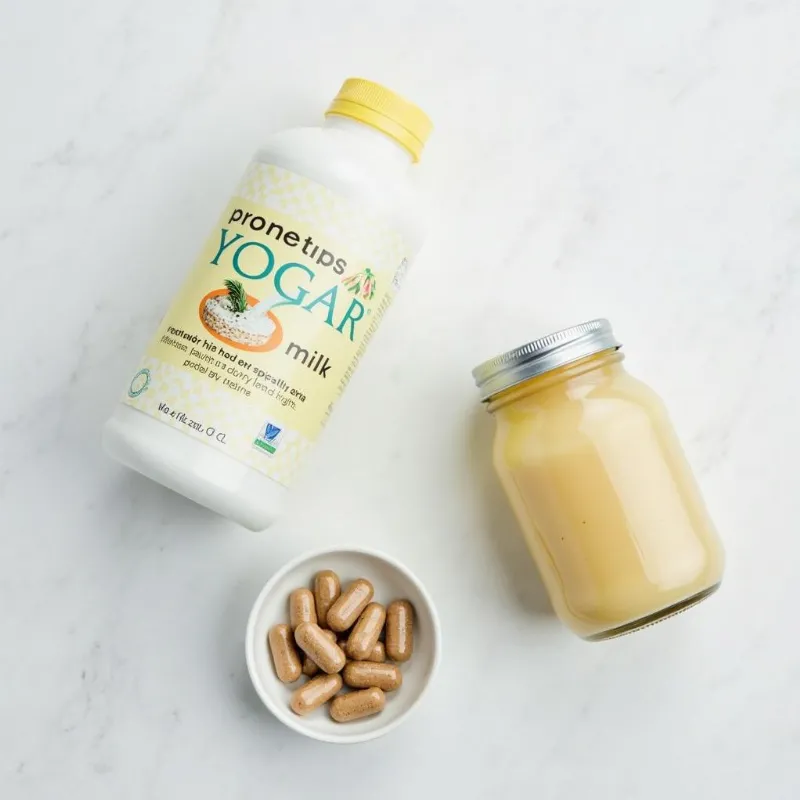
- 1 (48-ounce) container plain, unsweetened soy milk (or your preferred plant-based milk)
- 2 probiotic capsules (containing live and active cultures)
- 2 tablespoons sweetener (optional, such as maple syrup, agave, or sugar)
 Vegan yogurt ingredients displayed on a kitchen counter
Equipment You’ll Need:
- Instant Pot
- Whisk
- Thermometer (optional, but recommended)
- Glass jars for storage
Step-by-Step Instructions
-
Heat the Milk: Pour the plant-based milk into the Instant Pot. Press the “Yogurt” button and select the “Boil” setting (or manually set to high pressure for 5 minutes and allow for a natural pressure release). This step helps to eliminate any competing bacteria in the milk.
-
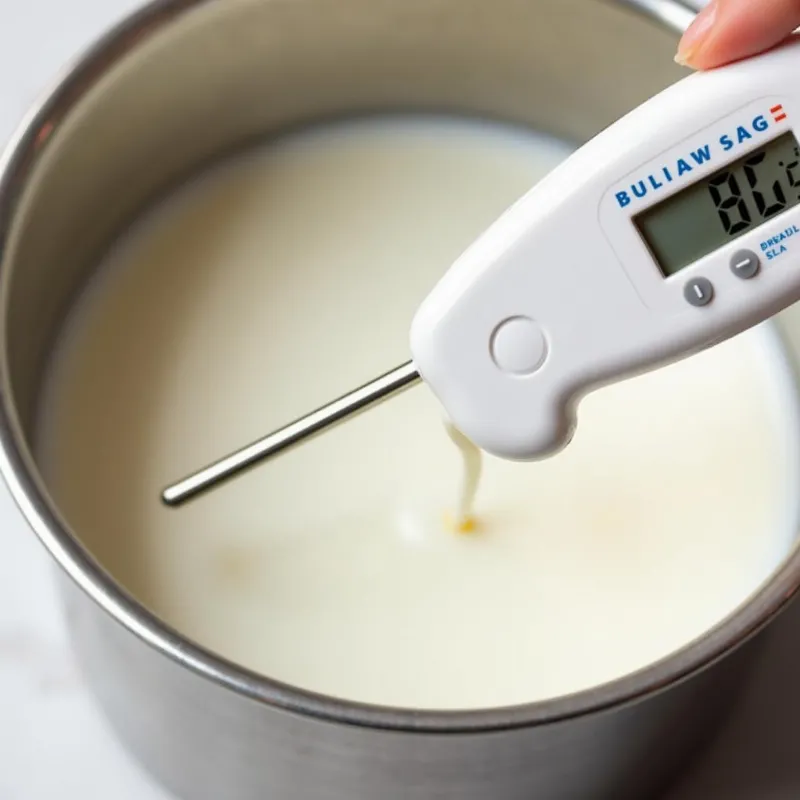
Cool the Milk: Once the boiling cycle is complete, allow the milk to cool down to 110-115°F (43-46°C). You can use the “Yogurt” button’s “Adjust” setting to maintain a warm temperature while it cools.
 A hand holding a thermometer in a pot of plant-based milk
 -
Add Probiotics: Open the probiotic capsules and stir the contents into the cooled milk. Ensure the probiotics are thoroughly mixed in.
-
Incubation: Secure the Instant Pot lid (without the pressure valve) and set the “Yogurt” function to 8 hours on the “Normal” setting. For a tangier yogurt, increase the incubation time to 10-12 hours.
-
Chill and Enjoy: After the incubation period, carefully remove the yogurt from the Instant Pot and transfer it to glass jars. Refrigerate for at least 4 hours or overnight to allow the yogurt to thicken and develop its full flavor.
 Creamy white vegan yogurt in glass jars, topped with berries and granola.
Tips for Success
- Milk Matters: While soy milk is a popular choice for its high protein content, you can experiment with other plant-based milk options like almond, cashew, or coconut milk. Keep in mind that different milk varieties may result in slight variations in texture and flavor.
- Probiotic Power: Choose probiotic capsules specifically labeled for making yogurt. Look for a variety that contains multiple strains of live and active cultures.
- Sweeten to Taste: While the yogurt will have a naturally tangy flavor, you can add a touch of sweetness after culturing by stirring in your preferred sweetener.
- Troubleshooting Texture: If your yogurt seems too thin, try adding a thickening agent like agar-agar powder (1/2 teaspoon for a 48-ounce batch) before the incubation process.
Frequently Asked Questions
Can I use a different type of yogurt maker?
Absolutely! While this recipe is tailored for an Instant Pot, you can adapt it for use with a traditional yogurt maker by following the manufacturer’s instructions.
How long does homemade vegan yogurt last?
Properly stored in airtight containers in the refrigerator, your homemade vegan yogurt will stay fresh for up to 7-10 days.
Can I use this yogurt in recipes?
Yes! This versatile vegan yogurt can be enjoyed in countless ways. It’s delicious on its own, perfect for smoothies, vegan upside down cake, or as a substitute for dairy yogurt in your favorite recipes.
What if my yogurt doesn’t set?
Don’t worry! Sometimes it takes a little longer for yogurt to set. If your yogurt hasn’t thickened after the initial chilling time, try extending the refrigeration time for a few more hours.
Can I make coconut yogurt in the Instant Pot?
Yes, you can make coconut yogurt, but it may require additional thickeners like agar-agar or tapioca starch due to its lower protein content compared to soy milk.

 A hand holding a thermometer in a pot of plant-based milk