Van Leeuwen Vegan Vanilla Ice Cream—a phrase that sparks joy for plant-based eaters and dessert enthusiasts alike. Known for their decadent, ethically-sourced treats, Van Leeuwen has set a high bar for vegan ice cream. But what if you could recreate that same luxurious experience right in your own kitchen?
This recipe guides you through crafting a lusciously smooth, perfectly sweet, and undeniably vanilla-y ice cream that rivals even the most celebrated brands. Get ready to churn up a batch and discover the simple magic of homemade vegan vanilla ice cream.
Gathering Your Vegan Ice Cream Essentials
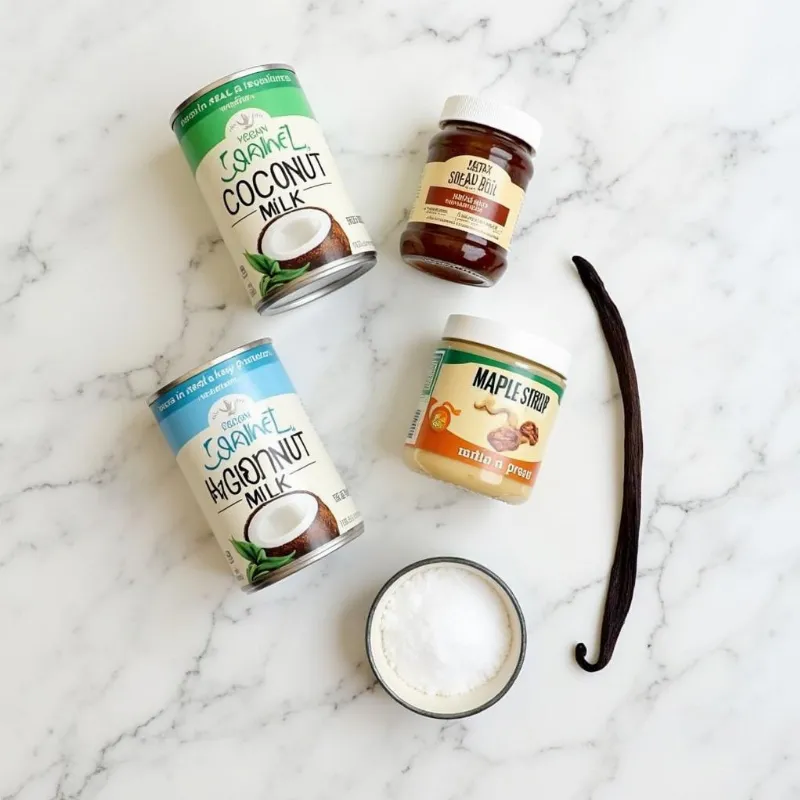
Before we embark on our ice cream adventure, let’s gather the key players that will transform into frozen delight:
- Full-fat coconut milk: The backbone of our creamy base, opt for cans that have been refrigerated for extra richness.
- Cashew butter: Lending a velvety texture and subtle nuttiness, make sure to use unsweetened cashew butter.
- Maple syrup: Our sweetener of choice, its delicate caramel notes complement the vanilla beautifully.
- Vanilla bean: For that iconic speckled look and pure vanilla flavor, scrape the seeds from one plump vanilla bean.
- Sea salt: A pinch enhances sweetness and balances the overall flavor profile.
 Vegan vanilla ice cream ingredients arranged on a marble countertop.
Crafting Your Vegan Vanilla Dream
Now that our ingredients are prepped and ready, let’s transform them into a scoop-worthy masterpiece:
-
Infuse the coconut milk: In a saucepan, combine the full-fat coconut milk with the scraped vanilla bean seeds and the pod itself. Warm over medium-low heat for about 5 minutes, allowing the vanilla to infuse its magical flavor.
-
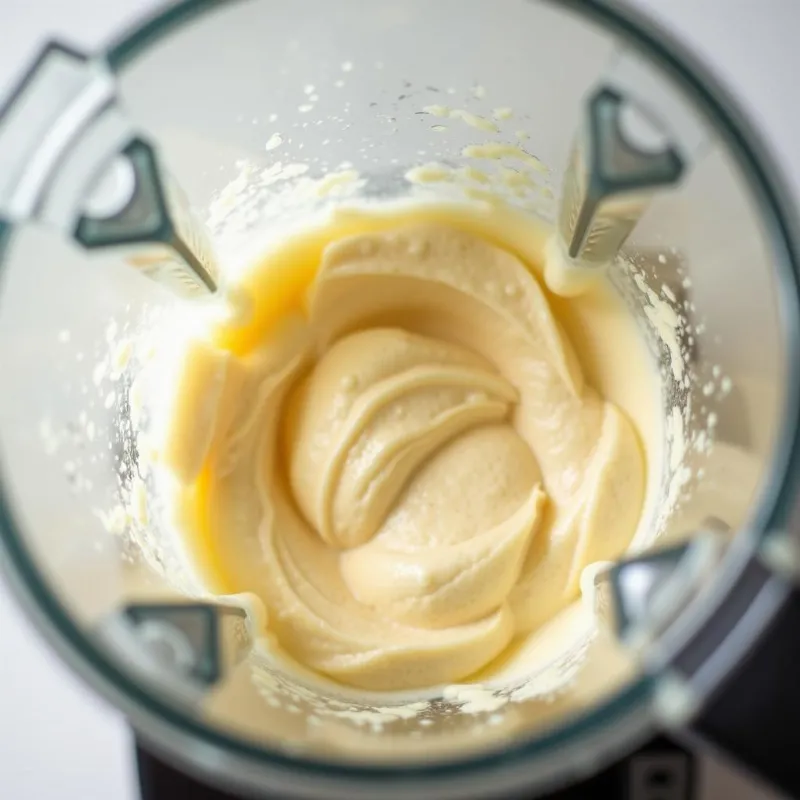
Blend to perfection: Carefully pour the warm coconut milk mixture into a high-speed blender. Add the cashew butter, maple syrup, and sea salt. Blend on high speed for 1-2 minutes, or until the mixture is completely smooth and homogenous.
“Don’t rush the blending process,” advises renowned vegan chef, Anya Sharma. “A truly smooth base is crucial for achieving that coveted creamy texture.”
-
Chill out: Transfer the blended mixture to an airtight container and refrigerate for at least 4 hours, or preferably overnight. This allows the flavors to meld and the mixture to thicken.
 Blending the vegan vanilla ice cream mixture in a high-speed blender.
The Big Freeze: Churning Your Vegan Ice Cream
The moment we’ve all been waiting for—churning our chilled mixture into frozen bliss:
-
Churn it up: Pour the chilled ice cream base into your ice cream maker and churn according to the manufacturer’s instructions. This usually takes around 20-25 minutes.
“Every ice cream maker is different,” notes Chef Sharma. “Keep a close eye on the consistency and stop churning when it resembles soft serve.”
-
Patience is key: Once churned, transfer the ice cream to a freezer-safe container. To prevent ice crystals from forming, press a piece of parchment paper directly onto the surface of the ice cream before sealing the container.
-
Final freeze: Freeze for at least 4 hours, or preferably overnight, to allow the ice cream to fully harden.
Scooping and Savoring Your Vegan Vanilla Creation
Congratulations! You’ve successfully created a batch of homemade vegan vanilla ice cream that’s worthy of endless praise. Now comes the best part—enjoying the fruits of your labor:
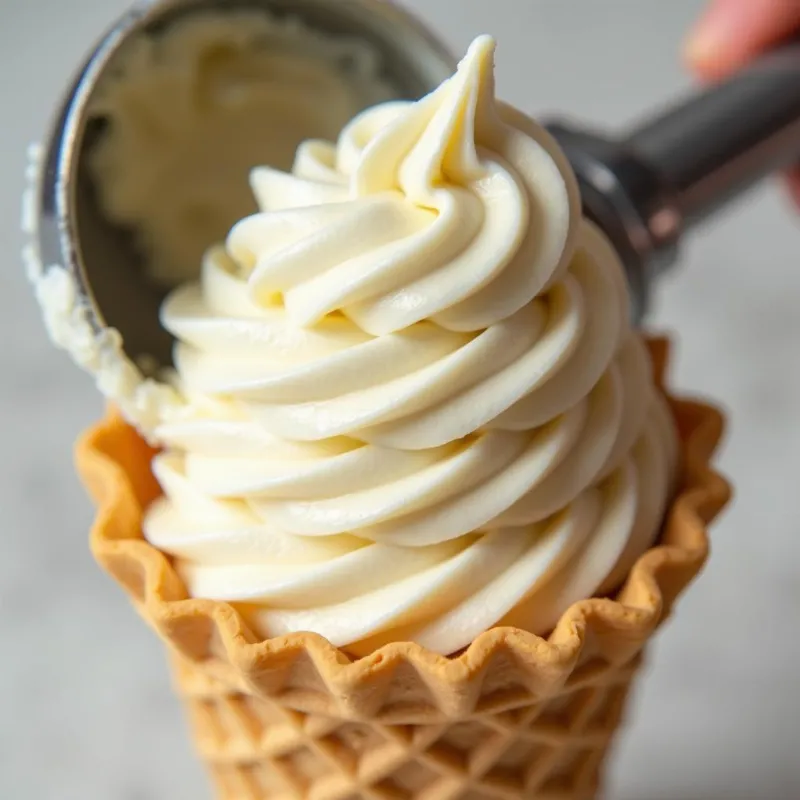
- Scoop it out: Let the ice cream sit at room temperature for 5-10 minutes before scooping. This will make it easier to handle and create those picture-perfect scoops.
- Dress it up: While this vegan vanilla ice cream shines on its own, feel free to get creative with toppings. Fresh berries, chocolate sauce, chopped nuts, or a sprinkle of cinnamon are all delicious additions.
 Scooping freshly made vegan vanilla ice cream into a cone.
Frequently Asked Questions About Vegan Vanilla Ice Cream
Can I make this recipe without an ice cream maker?
While an ice cream maker yields the smoothest texture, you can still achieve delicious results without one. Simply pour the chilled ice cream base into a freezer-safe container and freeze for 4-6 hours, whisking vigorously every hour to break up ice crystals.
What are some other flavor variations I can try?
The beauty of this recipe lies in its versatility. Swap out the vanilla bean for other flavorings like fresh mint, espresso powder, or melted dark chocolate to create your own signature variations.
How long can I store homemade vegan ice cream?
For best results, enjoy your homemade vegan ice cream within 1 week. Be sure to store it in an airtight container in the freezer to prevent freezer burn.
Can I use a different sweetener besides maple syrup?
Absolutely! Agave nectar or coconut sugar can be used as substitutes for maple syrup. Adjust the amount according to your desired sweetness level.
Is it normal for the ice cream to soften quickly?
Due to the nature of coconut milk, this vegan ice cream tends to soften a bit faster than traditional dairy-based ice cream. For a firmer texture, try freezing it for an additional hour or two.
This homemade vegan vanilla ice cream is proof that plant-based desserts can be just as indulgent and satisfying as their traditional counterparts. With its simple process and customizable flavor profile, this recipe is sure to become a staple in your kitchen. So gather your ingredients, embrace your inner ice cream artisan, and churn up a batch of this creamy, dreamy delight!
